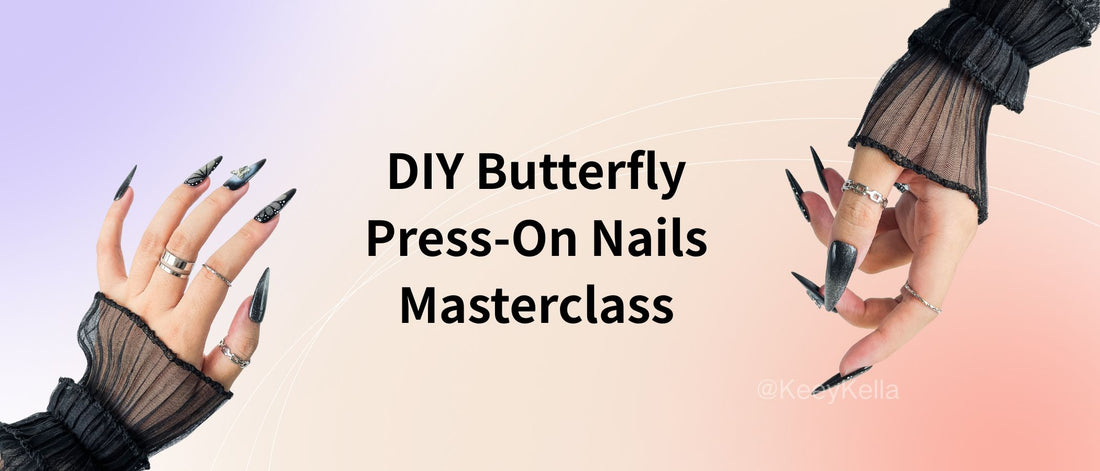
Craft Perfection: DIY Butterfly Press-On Nails Masterclass
Transform press-on blanks into luxury nail art worthy of Parisian salons. With butterfly manicures surging by 200% on Pinterest, mastering these techniques unlocks limitless creativity. This guide reveals pro secrets for crafting salon-quality press-ons at home—no expensive tools or expertise needed.
🛠️ Essential Tools for Pro Results
| Base Coat | Nail Holder |
| Non-toxic Gel Polish | Magnet |
| Pat Gel | Nail Art Liner Brush |
| No Wipe Top Coat | Sponge |
| Butterfly Ornaments | UV/LED lamp |
| Clear Nail Tips |
💅 Flawless French Tips in 4 Steps
Step 1: Base Perfection
-
Apply the base coat to clear nail tips. Cure under UV lamp 30 sec.
-
Apply black gel polish. Cure under UV lamp 30~60 sec.
-
Pro Hack: Layer two thin black gel polish for "jelly nail" transparency.
Step 2: Gradient Effect
-
Apply silver magnetic gel polish.
-
Use a magnetic tool to create a gradient effect.
-
Cure under UV lamp 30~60 sec.
Step 3: Butterfly Decoration
-
Dab white gel on a sponge, gently press onto tips.
-
Glue the butterfly ornaments to the nails
-
Cure under UV lamp 30~60 sec.
Step 4: Crisp Butterfly Tip Lines
-
Draw the butterfly lines by using the nail art liner brush.
-
Cure under UV lamp 30~60 sec.
-
Apply no-wipe top coat → Cure 90-120 sec.
Crafting butterfly press-ons merges tradition with innovation—all, all from your kitchen table. Ready to become your nail artist?
💅Share your creations with #MyPressOnMasterpiece!
#DIY press on nails #handmade press ons #nail art for beginners #gel press on nails #luxury nail design #at home manicure


